Building your own home studio
Posted by James Cullen on
Ever wondered how you can build your home studio from a spare room into a professional production environment?
Well, don’t worry, because we’re going to take you through a guide of how to make that perfect dream studio a reality.

The importance of the environment in which you produce your music is just as important as the equipment you use. In days gone by, the idea of having a professional level recording studio in your own home seemed like a far-fetched fantasy. But thanks to the development of technology over the years, it’s now a reality achievable by many producers!
If you’re reading this, you’re obviously keen to get your own studio set up in your home. You don’t need to worry about shelling out thousands for top of the range gear, or a dedicated space for a studio, with the following tips and some dedication, you can turn your spare room into a recording studio!
The benefits of a home studio
Obviously, working in a studio environment rather than a laptop with headphones has its benefits.
You aren’t bogged down with the financial commitments that often come with hiring out studio space. If it’s your studio, you can spend as long as you want in there. You can also decorate it to make sure the vibe is right for you, and above all; you’re creating music in a dedicated environment, so your productions will improve!
Any home studio setup will need this recording equipment:
- Laptop or Desktop Computer
- DAW software
- Audio interface
- Headphones
- Studio Monitors
- Microphones
- Samples
- Cables
So how do you go about creating it? Let’s jump in.
-
Make a plan before you start
There’s no need to buy the flashiest and most expensive equipment, so from the get go, making a plan of exactly what you’ll need is essential. You’ll need a pair of studio monitors, and audio interface, a desk and a MIDI keyboard. So really work from the ground up when you’re planning your studio. Go through a checklist of what you know you will need, and figure out where you’re getting it from!
-
Pick the right room
If you have the luxury of choosing which room in your house will be turned into a studio, then make sure you pick well! Try and avoid a room where there is lots of background noise; no home appliances such as a washing machine, and no outside noise! The bigger the room, the better, but this isn’t to say that you can’t create a working studio in a smaller room!
Soundproofing the room is essential, so get yourself some sound panels. You’ve probably seen them before; those bumpy foam squares on the walls in studios.
-
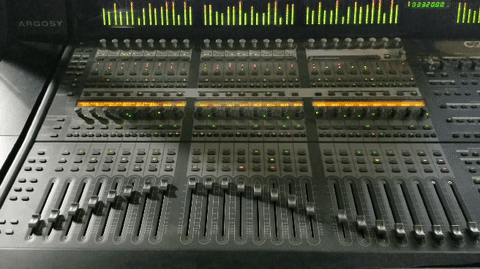
Choose the right equipment
If you know you’re going to be doing all of your production in your studio, and portability isn’t a requirement, getting yourself as powerful a desktop as possible is a good idea. You’ll need to be mindful of what platform you use though, as if you’re a Logic Pro user, you’re limited to MacOS. If you use a Windows compatible DAW such as Ableton, then a Windows Desktop with as much processing, memory and RAM is a good idea.
However, if you need to take your productions on the go, a laptop is the best bet, You can grab yourself a computer monitor and mouse and keyboard for your studio desk, so you can still get the benefit of a bigger screen (not to mention multiple screens!)
-
Pick the right studio desk for your needs
You’ll need a desk on which to sit your monitors, screen, keyboards and MIDI controller. There are tonnes of options out there, for all budgets and room sizes, so do some shopping around!
You might need one with dedicated space for outboard racks if you have an outboard compressor or maybe a larger interface.

You could go to a dedicated music production tailor made desk, or you could go to IKEA! Find an option that works for you, and consider everything you’ll need on your desk.
For example, my desk consists of; studio monitors, screen, mouse, keyboard, audio interface & Ableton Push. Does your desk need more room? Or less?
-
Do you need a microphone?
If you’re going to be recording anything such as vocals, samples or instruments, you’ll need one or several mics. Learn what microphones serve what purpose, as well as what accessories you’ll need with each.
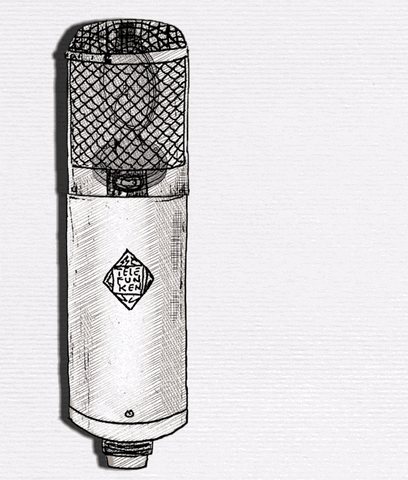
For example, if you’re recording vocals, a good set up is a condenser microphone, as well as a pop shield and reflection filter to get the cleanest sound possible. Have a look at what microphones and accessories both suit your needs, and are affordable.
There’s no point in spending top dollar on a microphone if you’re only going to use it once in a blue moon, but there is also a big problem with cheaping out on a microphone if you’re going to be using one all the time!
-
A MIDI keyboard or controller?
Are you going to need a MIDI keyboard or a MIDI controller?

Ask yourself what your production style lends itself to, and then buy accordingly. If you use Ableton Push or Push 2, you canplay in chords and basslines with the pads, but that may not fit with how you like to create music. In which case, a MIDI keyboard is a better option to combine with Ableton Push.
If you’re not much of a piano player, or if you just prefer drawing in MIDI notes, then a MIDI keyboard may not necessarily be an essential purchase for you. But as a side note, I’d recommend getting one anyway and learning your basic chords and scales; you can’t beat the organic natural sound of playing in a melody or chord pattern instead of drawing it in!
-
Don’t put your monitors where they will cause audio artefacts!
In a room with parallel walls, you’ll be subjected to standing waves. Ever heard that weird almost digital sounding echo when you clap in an empty room? That’s a standing wave, when two soundwaves bounce off opposite walls and then collide, causing unpleasant sounds.
You don’t want this in your studio, so make sure you don’t place your monitors near the corners, as this can excite standing waves easily. Another point on monitors, is that they can cause a desk to vibrate, which in turn creates unpleasant resonances for your ears. So getting a pair of monitor stands could be a good way to remedy or avoid this!
-
Hardware or software?
In the past, audio compression, EQ, effects and mixing all happened in analog equipment, which meant a recording studio had to be a huge space with room for all the bulky gear. Nowadays, though, you can achieve professional sounding tracks using software plug ins.
A great money saver is to ask yourself if you really need to spend any money on outboard gear?
There are plenty of software plug ins that are at an industry standard, used by professionals all over the world. Sure, you have to pay for these too, but there are also a whole load of free plug ins and music production software toys to get your hands on.
So consider what you really need, and plan and buy accordingly.
-
SAMPLES
It may not be the first thing that jumps into your head when you think about building a studio, but any producer worth his or her salt has a collection of samples that they regularly pull from. These will often be built up over time, so don’t burn yourself out by spending every hour of every day searching for samples.
But a proper storage and organisation system for your samples is essential. As your sample library grows, so too will the time it takes to find the ones you’re looking for. You could consider storing them on an external hard drive plugged into your computer, or on your computer itself if there’s enough memory.
But the main point is, keep your sample library organised and easy to navigate!
-
Cables
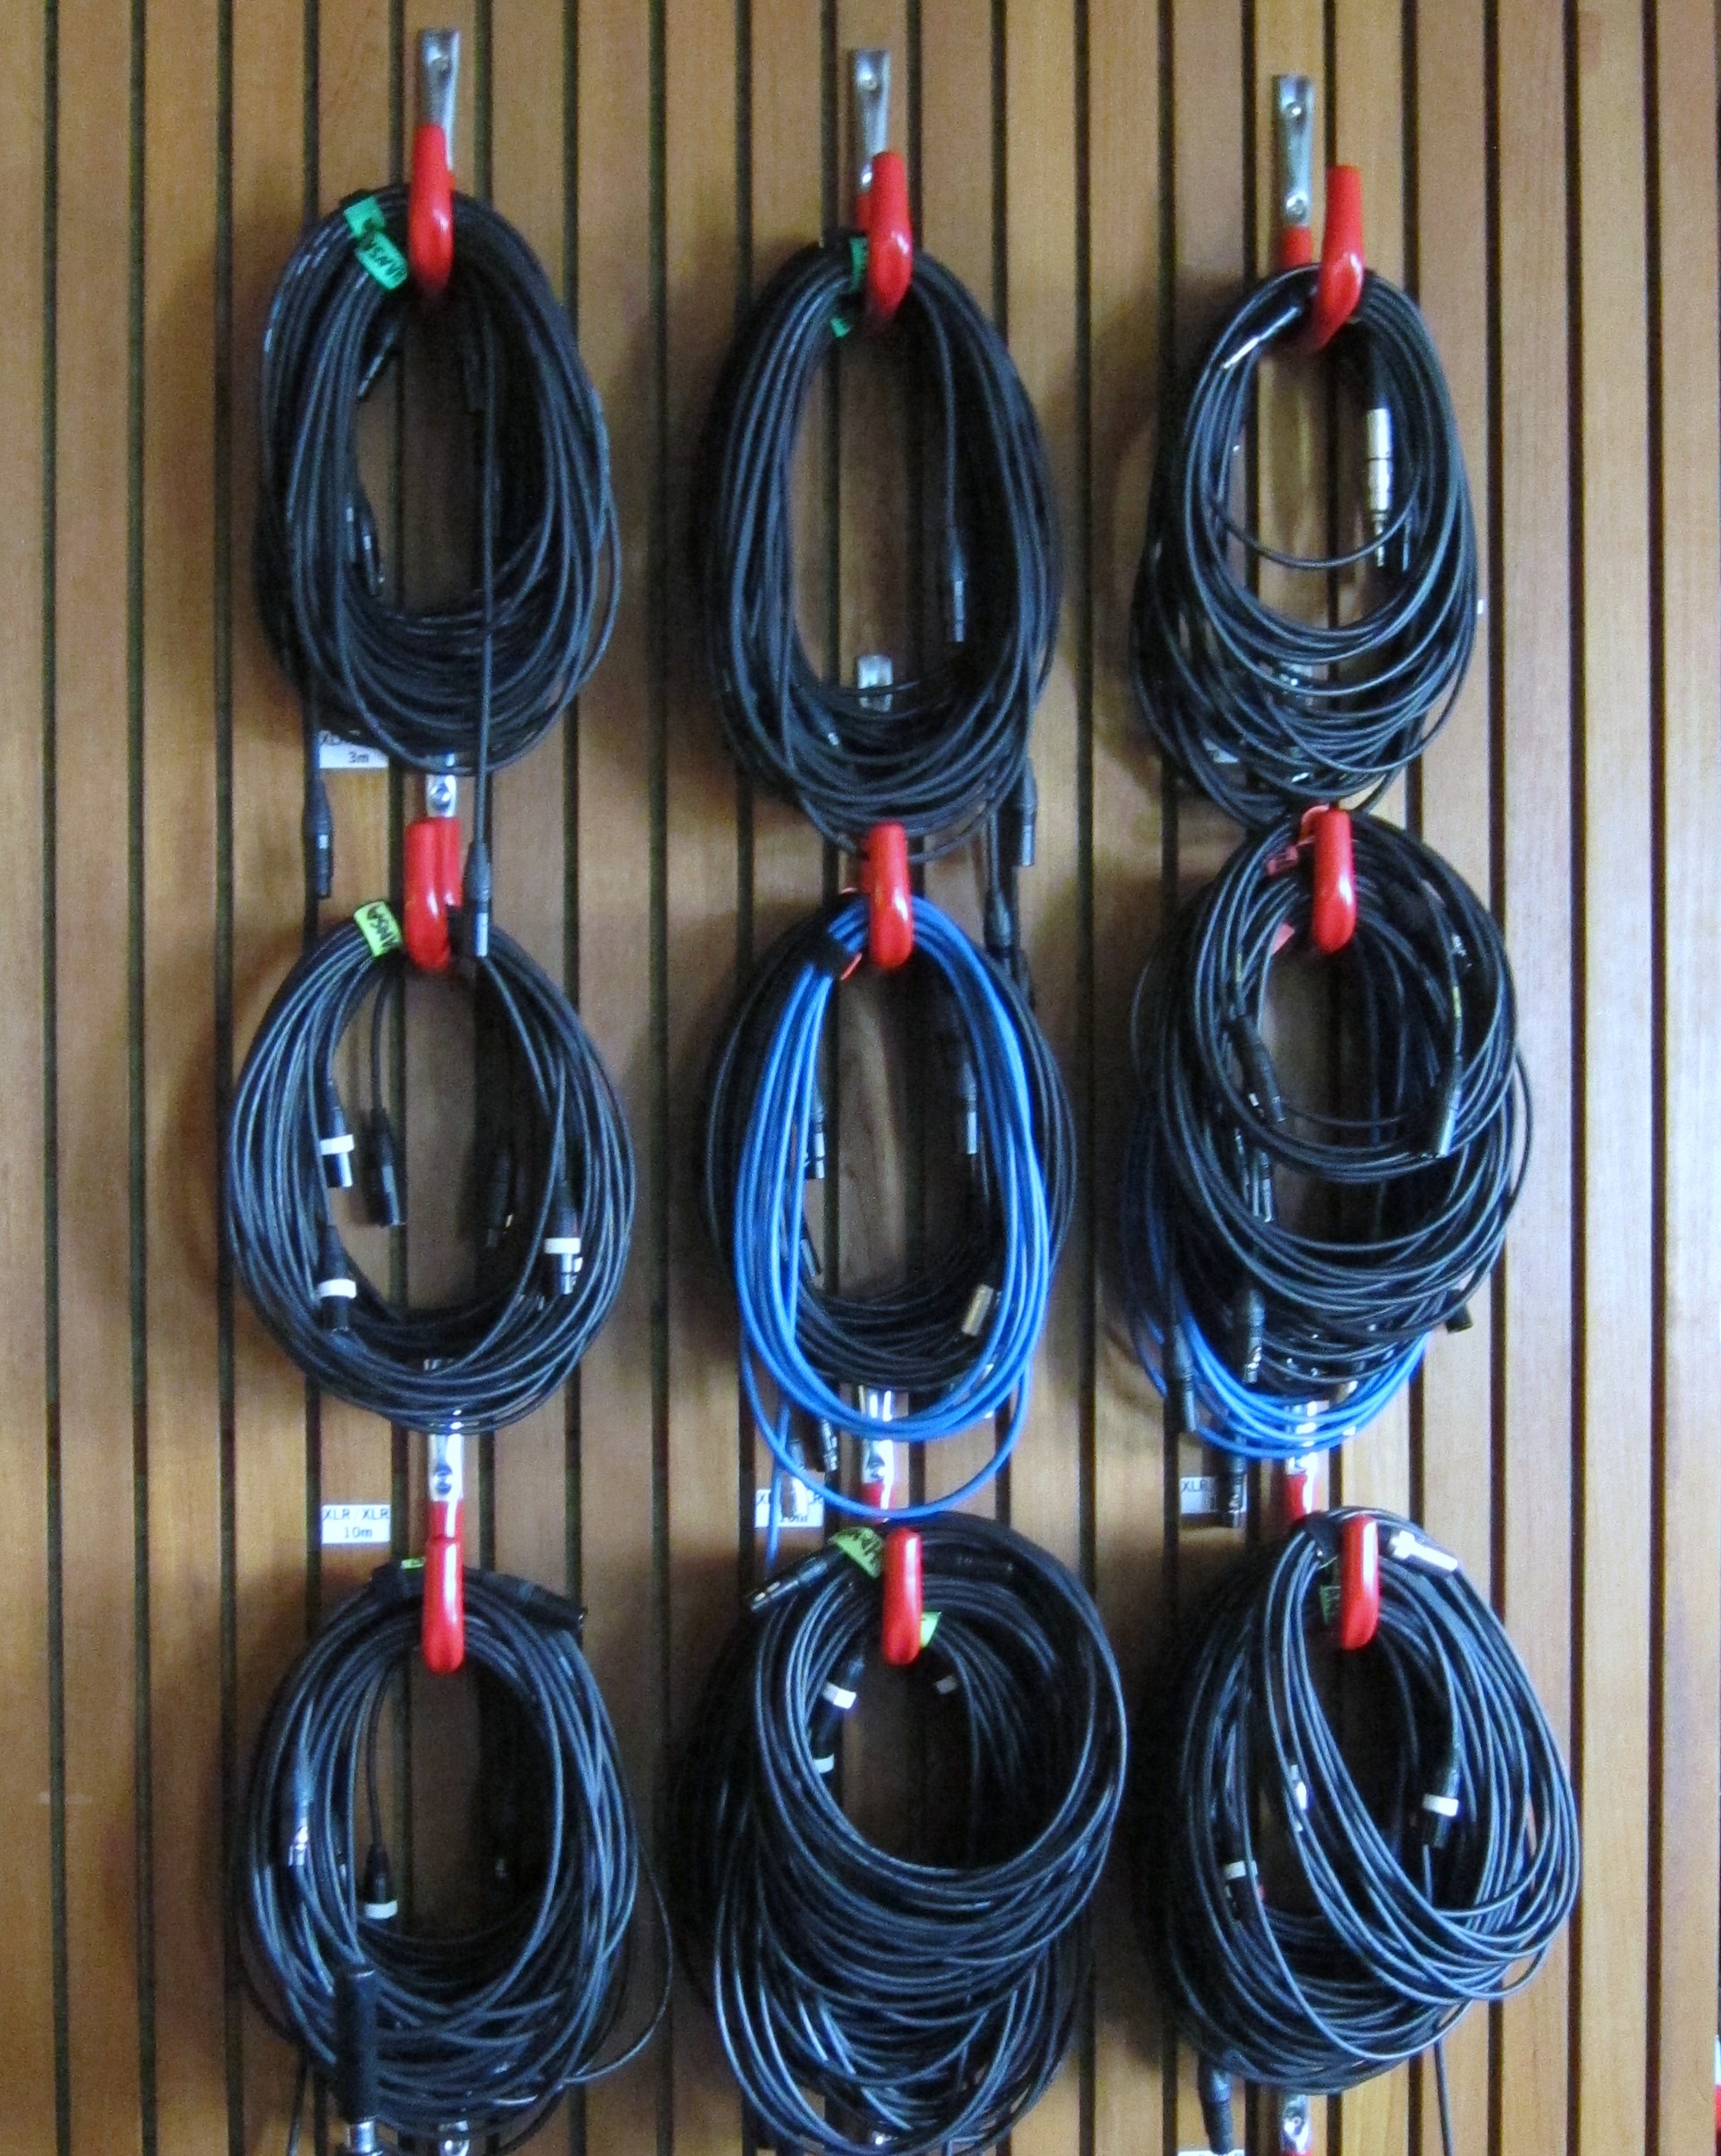
Every producer’s nightmare, right? Cables are messy, fiddly and annoying, but they’re an essential part of your studio. Make sure you have a surplus of XLRs, jack to jack cables, MIDI cables, and even patch cables if you need them.
Also to remember; USB cables and headphone cables.
But it’s not enough to just have the cables, you need to organise them. A great idea is looping them over wall hooks, basically anything but throwing them into a box is a good storage solution if it works for you.
You also need to consider the cables actively being used by your equipment. No one likes a desk with a disgusting amount of cables hanging out the back of it, so be sure to wrap them up together and make everything as neat and organised as possible!
Home Sweet Home….Studio.
Now, if you’ve followed the steps above, you should be on your way to creating a fully functional music studio in your own home. There are certain points that may appeal to you more so than others, but I think I’ve covered the basics.
To recap, here are the main points:
-Make a plan
-Only buy essential equipment
-Consider the audio environment of the room
-Be organised; this means samples, cables and the physical lay out of the studio
- Pick the room properly
Hopefully your studio is well on its way to pumping out the next global number 1! But if not, don’t worry, I’m sure it’s still a dope studio and you’ll be creating some sick tracks!
Thanks for checking out our article on building your own home studio. As always, check out the rest of our website for more tips and tutorials, as well as Ableton remakes and templates. There’s always something to help you improve here at Top Music Arts. Peace out!