Ableton Live 10 Vs Ableton live 9
Posted by Esteban Miranda on
Is it really worth it to update your Ableton live 9 to 10?
Today with Top Music Arts we are going to show you the main differences, features, and updates Ableton live 10 and 9 have for us. To help you decide if an update if the best way to go for you and your setup, always with some tips and guides of the new and useful stuff they have as the great DAW they both are.
First of all, let´s talk about Ableton live 9
For many of us musicians, and producers, Live 9 has become the go-to environment for music creation and real-time performance. Live's approach to composition and arrangement is certainly unusual if you're coming from a traditionally designed digital audio workstation.
It´s one of the DAW’s that threw away the rulebook and established its own identity. It made a name for itself for not only being the best recording program for composers, but also for being one of the best performance instruments in itself.
The update from Ableton 8 to Ableton Live 9 was a significant improvement from the past versions. With great refinement in MIDI editing, and the brilliant audio to MIDI conversion feature, this software is without a doubt, one of the best DAW out there.
Live 9 was first “pre-released” on October 25, 2012, offering new features, the integration of Max for live and the Push hardware controller was announced and demonstrated. That had a great impact on the whole Midi Controller conception.
Later they announced many more features in Live 9 including, our favorite, the Glue Compressor as well as the ability to add curves and shapes to track automation, among many other updates.
Live 9 and the Push hardware were both officially released on March 5, 2013.

The major addition to the Live 9 suite was the inclusion of Max for live for all Live 9 Suite customers. This dramatically increased the size of the Max for Live community and meant a significant promise towards fundamental enhancements in Live by community members creating their own devices. Live 9 Suite also expanded the "sound-ware" included in Suite 8.
Ableton has created a niche for itself with its live element and native plugins that have helped define the Electronic Dance Music sound.
What Ableton live 10 has to offer
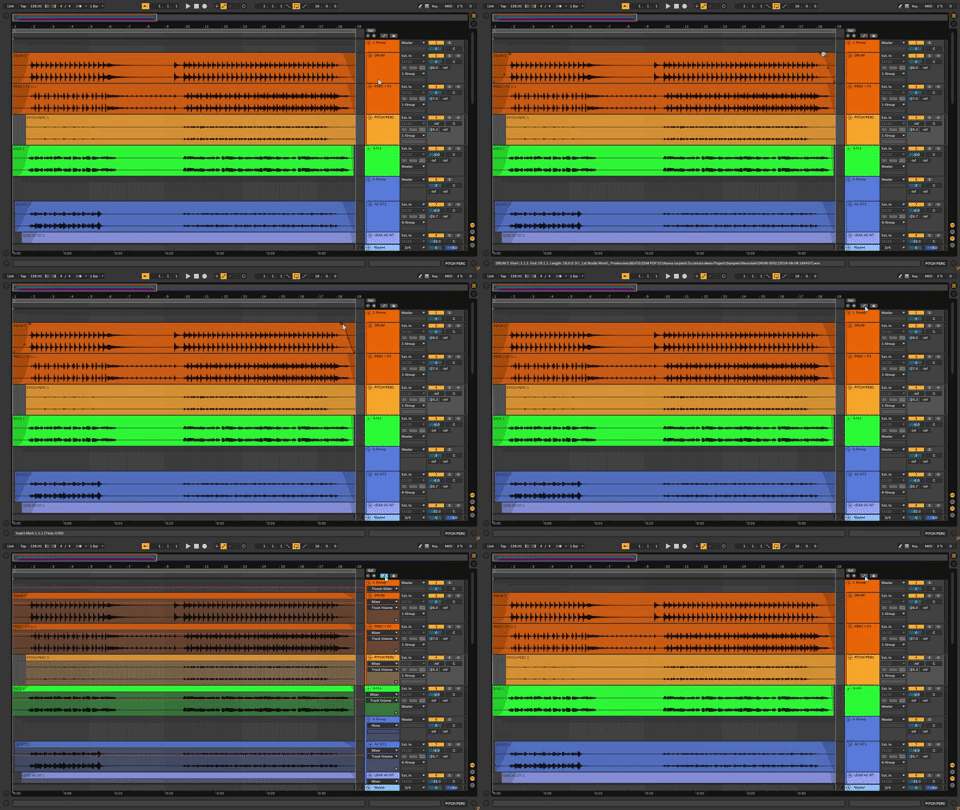
The new look
It hasn´t changed a lot from live 9, but Live 10 has a different, new look. There’s nothing radically different, but there’s a new font (the same one displayed by the Push controller) so everything looks a bit cleaner and more solid. Not that it helps a lot really.
There’s also some freshly optimized themes for better visibility in different situations (such as the darker theme below). While in live 9 you had to download them if you didn´t like the native themes. So that´s something.
But there´s one significant change in the interface/workflow front, and that is the automation.
You will notice that the tracks are displayed as solid blocks, and if you toggle the A key or the new automation view button, you can go back and forth between your “normal” Edit Mode, where you can do your fades and see your track content properly, and your Automation Mode, where you can see and edit all your track automation.

The new automation system takes time to get used to. When you have your Computer Midi Keyboard button activated, the A key becomes the C note. You can bind (midi map) a mouse or keyboard button to toggle it On/Off or turn it off if you don´t use it.

If you have a key to toggle it on and off, it makes it a lot more intuitive and will impact your workflow positively.
Other most significant addition to the automation worflow, is that now in live 10, the points of your automation now snap to the grid. Big help there!
And also if you hold shift, it locks your automation point vertically, useful if you want to raise or lower something more precisely. And if you move horizontally it has the same effect.
New devices
The big new instrument is Wavetable, which, as the name suggests, is a Wavetable Synth that uses waveforms from analog synths and other instruments to model sounds. There’s a modulation system built in, along with modeled analog filters.
Live’s Analog and Operator synths are fairly ancient now, and this tends to look like something that might be able to go up against relatively more modern instruments like NI’s Form and Xfer’s Serum.

You will see that the Wavetable synth has a similar layout as all the Ableton Native Plugins, but if you are familiar to Serum you will notice that you have a little bit of that in there too!
There´s a ton of wavetables, basic shapes, harmonic series, a lot of types where you can cycle through them, just like in serum.
New Audio Effects:
Echo, which looks to be an experimental echo plugin with analog and digital qualities; It´s a new type of delay effect. Something similar to a Reverb + Delay or Rev + Ping Pong Delay which you can recreate in Ableton Live 9.
But with much more settings to control. You can take control over reverb, filters, panning, modulation, and feedback on different views and in a simpler way. All in the same plugin.

Drum Buss, this is a very useful plugin, maybe the coolest one. An “an all-in-one” drum sculpting tool for adding warmth, adjusting transient response, low-end enhancement and more.
Right at the moment, you drag it into your track, it´s going to have the Drive set to 20, as a default, you should keep that in mind because it´s going to be affecting your drums maybe adding something you don´t need!
The main parameters to have in mind are:
- The Drive, which is something like a pre-amp where you can select the type.
- The Compressor, that works before the input distortion, you can trim the input signal to work with it better.
- The Crunch, that adds extra distortion to the mid-high frequencies. You can damp the overall signal after processing.
- The Transients, within the Crunch section, this knob emphasizes or de-emphasizes the transients of this mid-high freq. You´ll see that it proves to be very useful.
- The Boom, it changes the amount of low-frequency enhancement you add to your drums.
It sorts of adds something like an 808 to any drums you have. You can solo out your low freq. by clicking in the little headphones down the same section.

And there´s also Pedal, which uses circuit-level modeling to create virtual guitar pedals for overdrive distortion and fuzz. Ableton says these aren’t just for guitars but warming up vocals, drums, and synths too and they might be right.
It´s a very natural sounding distortion plugin, a good addition because, in live 9, I always used The Amp, Saturator, Overdrive or even the Dynamic Tube plugin to get similar results. And in this one there is a simpler, kind of straightforward summary of the most used features of them all.

Faster music creation
Every new version of every DAW promises “workflow refinements”, but Live 10 has one idea that really stands out from the others, and that is:
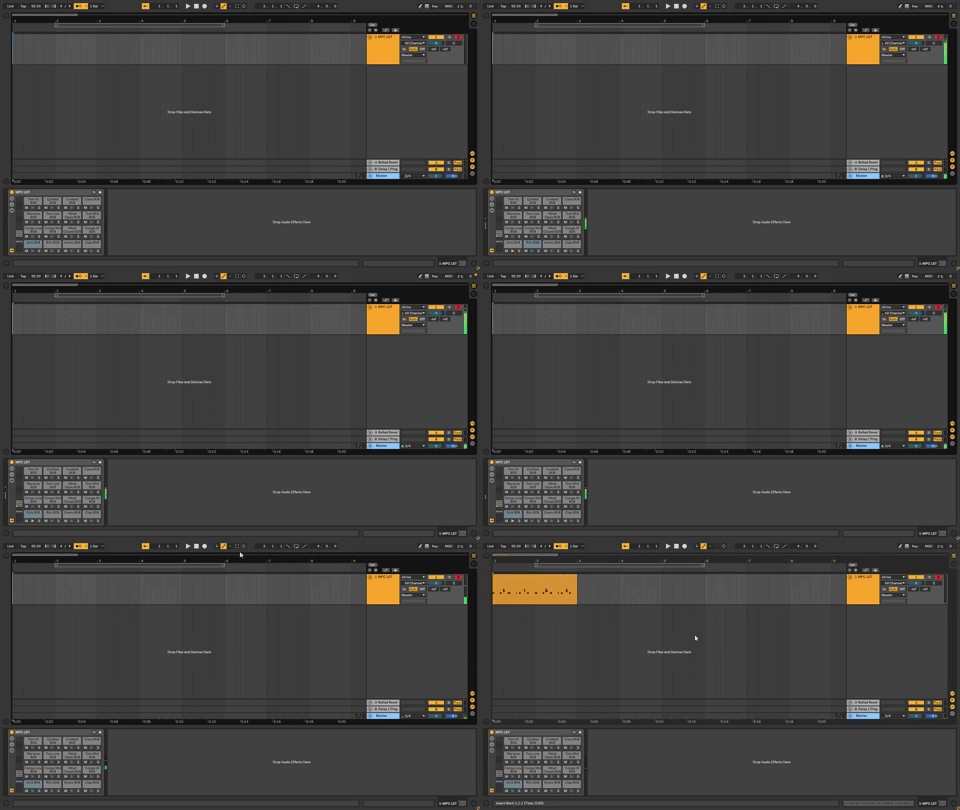
Capture, a new feature that “recalls an idea after it has been played and turns it into a MIDI clip with feel and groove intact”.
You can Click Here to capture the MIDI notes you just played!

We know It sounds strange, but it will amaze you to be able to recall the last idea you played and you missed to record.
When you click on it, a new clip containing the phrase you played will be created on every armed or monitored MIDI track. If the set is empty and the transport is stopped, Capture will detect the tempo and place the notes on the grid.
If there are other clips in the set, or the tempo is slaved or automated, the song tempo won´t change. And with capture, you can also use it to overdub a currently playing clip!

This is just the tip of the iceberg though, there are some very handy new Workflow Improvements like:
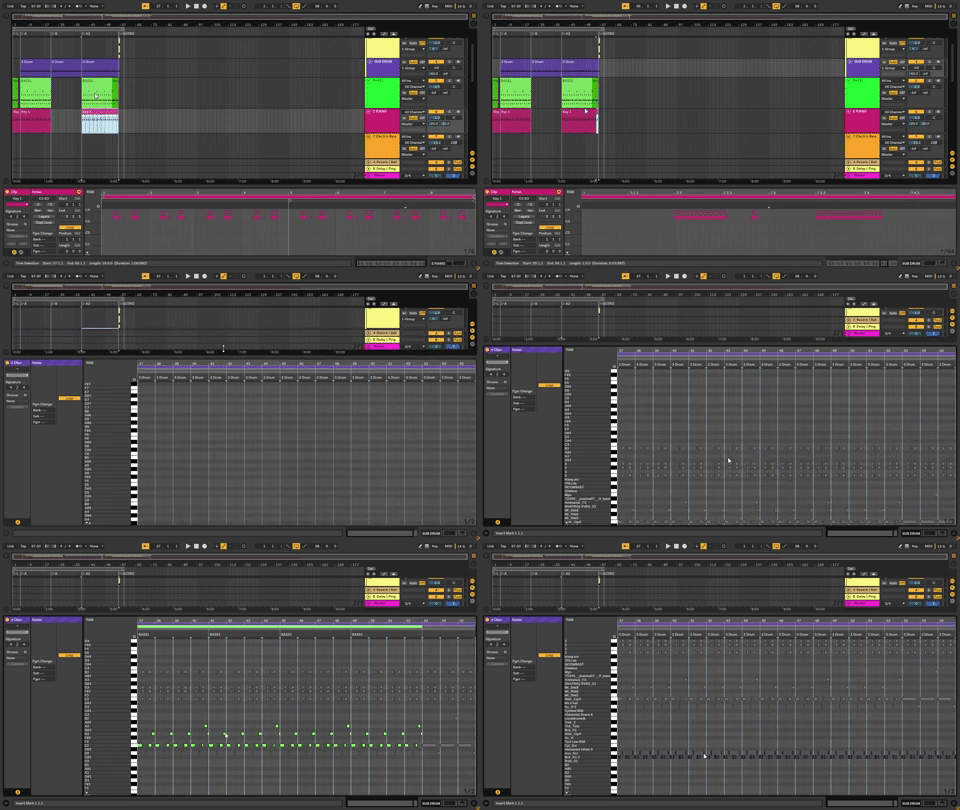
- Multiple MIDI clip editing, that means that when you select more than one MIDI track, the edit view shows the content of two or more clips in one view for better control of the musical relationships in a song. In live 9 you have to do everything one track at a time.
If you have different colors assigned to them, when you hover them in the edit view, they stand out the rest so you can sort and edit each instrument properly. That´s another huge time saver right here!

- Arrangement View improvements, such as Nudging, Time stretching, One-key zooming, and drag-and-drop Track duplication make editing faster and easier.
Now in live 10, you are able to zoom in and out by holding Ctrl (or Command in Mac) + mouse scroll, super easy. In live 9 you can always use your + and - keys, but with the scrolling, it really gets easy to get used to.
In regard of cursor and clips movement, In Live 9 if you´d click on a midi clip, and you´d hit your left and right arrow, the cursor just moved left and right.
In Live 10 when you select this MIDI clip and use your cursor keys, it moves left and right. And with the cursor keys (left and right) + Ctrl (or Command in Mac) you can move in jumps of whatever your clip´s length is (if it´s a 4bar loop, you jump 4 bars).
This can be useful when you are creating or adjusting your drum loops, for example.
-
Groups within groups, it really improves your Set organization even with lots of tracks and a detailed arrangement. You can create groups inside your group channels, or select all your groups and create a “master buss group” for better processing, for example.

Multiple tracks and groups can be folded together for a simple overview.
-
Note chasing triggers, Your MIDI notes play if your playback starts in the middle of it, the note doesn’t need to be started from the beginning to hear pads or other sustained notes. This may not seem like a great improvement, but if you give it some time…
It´ll grow on you and when you go to other daws, we´re sure you´ll miss it as we did!
-
I/O Renaming, that lets producers easily select the right routing by labeling Live’s inputs and outputs to match the instruments and hardware in the studio.
-
Assign Track or Group Color to clips, to improve your overall organization live 10 has another very handy feature when you assign your track or group color, you can also assign it to the whole group, or all the clips in your track, without having to select them, and then right-click it, like in Live 9.

-
Saving and backups, you no longer lose your Undo history when you save button. In addition to that, it now automatically creates backup versions of your work, as you go, and keeps them in the project folder.
It's not much of an improvement, but more of an issue fixed.
-
Split Stereo Pan Mode, now you can have separated panning options for the left and right ear content.
This is also an extremely useful feature if someone gives you a stem, and a background vocal is printed in one ear only, and you want to send that to both ears, you can now change it here.

-
Click / Metronome upgrades, when you start songs, you compose a little bit and then develop the idea, and then compose the next idea, then stop and develop that, and you are constantly switching the click on and off a lot. In live 10 you now have three different metronome sounds to choose, and a very handy option that is, Enable Only While Recording, and that means the click is no longer played when you are not recording.
Another time saver improvement!

- Browser Collections, provide at-a-glance access to favorite or most-used musical elements. You can do multiple "favorite" lists of your plugins, devices, VST, samples or library sounds of choice. You can hit edit, change their names, and sort them with colors. You can also right-click any item of your choice and add them to any of your collections. That will be marked with a color dot. You can select it and hit 0 (that´s the shortcut) to erase any favorite collection assignment.
New sound library
For anyone who can’t afford a copy of NI’s Komplete collection to get their hands on high-quality sampled instruments, the sounds that come bundled with Live Suite have always offered a good value alternative. Live 10 offers a re-designed version of the core sound library with “richer, more detailed sounds”; it’s also reorganized so it’s easier to find the sounds you want.
This update includes four new sound packs that include synths, ultimate-sampled electric keys, and drums. There’s also “Curated Collections”, sound packs that “capture the musical threads that tie together evolving styles and scenes”. No word from Ableton on what these scenes are, but it sounds like Ableton’s attempt at NI´s genre specific add-ons for Maschine.
Push does more with Live 10
The release of NI’s Maschine MK3 last month meant that Ableton’s Push controller was no longer the newest, most exciting all-in-one controller on the market. The addition of color screens didn’t just offer visual feedback like the Push, it went one better by adding the ability to look at sequenced notes in a clip. Despite the Push having a much narrower screen, Ableton has added the same function for Live 10 owners, offering a new layout for “simultaneous note sequencing and real-time playing”.

Price
The pricing for Ableton Live 10 stays at the same level as Live 9. Download versions for Live 10 cost $99 for Live Intro, $449 for Live Standard and $749 for Live Suite.
Existing users should check their Ableton accounts for individual upgrade prices. But to have in mind, the upgrades prices from live 9 are around $300 or less, depending on your DAW version purchased.
Live 10 Suite is, available as a 30-day demo, we surely recommend you to just download it and try all of this out yourself!
Feel free to comment if you have some questions or something you want to share with us, we´d love to hear your opinion.
In live 10 you can Re Sample your MIDI and Audio tracks, by creating a track below the one you want to re-sample, and just setting the input to what channel you are taking the signal from(make sure that Post Fx is on), and hitting record.
Also if you want to Reverse your audio, you can just hit the R key of your keyboard and you will reverse the audio just like that! If you are having trouble with your CPU loads, you can use the Re-Sampling trick, to ease your CPU by just re-sampling all the vst instruments or any track that is heavily loaded with plugins!