Granular Synthesis
Posted by James Cullen on
There are many different types of synthesis out there. If you're a relative newcomer to making music, then all of the different synthesis terminology can be a little bit daunting. Some of them are fairly straightforward, but others are a little bit more complex.
In general, synthesisers use oscillators to create sound waves, which are then morphed using filters and amplifiers etc. However, Granular synthesis is a little bit different.
So, in today's guide we are going to break down granular synthesis. We'll cover what it is, how it works, and some of the cool plugins available that make the most of this unique and niche way of creating sounds.
What is Granular Synthesis?
Granular synthesis is a really interesting type of sound design, in that it uses audio samples to create sounds.
Much like a sampler, a Granular Synthesiser uses a user-loaded audio sample, and chops it up into grains, which are then played back and layered on top of one another. It will often slice up an audio sample and rearrange the playback of the grains into rapidly changing patterns.
Because Granular Synthesis is based around audio samples, there are virtually limitless possibilities for the timbres you can create. Your source material is the most limiting factor, and given that you can import any audio sample into a Granular Synth, that's not a lot of limitation from the get go!
The important first step is to carefully consider the samples you're wanting to use in your Granular Synth. So considerate curation of your samlpe library before you jump into granular synthesis will guarantee you the best results.
Now let's dive into the basics.
Understanding the Basics
Each Granular Synth you use will be different, and - as with many plugins where you get loads of different options - not all of them will have the same controls.
But there are some standard controls that you'll find on all granular Synths.
Grain Size
The first of these standard controls is Grain Size. This can also be known as duration, or in the case of Ableton's Granulator II, simpley Grain.
Essentially what's happening is that the Granular Synth chops your sound down into individual grains, which can be of varying lengths or sizes.
The grain size control dictates the length of these individual grains.

In the above image, which shows Ableton's Granulator II, you can see in the bottom left the knob marked Grain.
In this case, the grain size is in Hz, so less results in a longer grain size. However, some are measured in ms, which means more is longer.
In general, a shorter grain size creates a more glitchy sound, while a longer grain size allows the sounds to bleed into each other. This makes them ideal for ambient effects and pads.
Rate
The next of these standard controls is known variously as Rate, Grain Spacing or Shape.
Essentially what this is controlling is the gap between each of these grains. This plays a huge role in the timbre of your sound.
If you're looking for a smoother sound, you'll want more overlap between your grains. If you want more stuttery or grainy effects, a larger gap achieves this.
Now, it's interesting to note that some granular synths, such as Ableton's Granulator II which I'm using, don't actually have a Rate control.
Instead, they use a parameter for controlling the shape of each grain by adjusting the envelope.
Although on a technical level, this is a different thing, in practice it is the closest thing and largely achieves the same results.
Position
This is the third standard control you'll find on Granular Synths.
Since we're using an audio sample to generate the sound, this control (which can also be called start time or file position) changes the start point of the audio sample. As I'm sure you can imagine, this can drastically change the end result.
For instance, if you're using a single melodic hit, such as a Kalimba. Changing the position will dictate whether your sound has a hard transient, playing the beginning impact of the sample, or whether it has a much softer and almost pad-like timbre.
Now obviously this varies depending on the audio sample you've chosen, and if you're using a drum loop, you could be hearing a kick, snare or percussion piece depending on where in the loop your start position is.
Be sure to experiment with this, because it's possible to get two drastically different sounds out of the same sample.
Other Controls
So, those are the basic and standard controls you'll find on Granular Synths. As you can see, there's the possibility that it may be named slightly differently, but the core function is the same.
However, since Granular Synthesis is all about creating weird and wonderful sounds, the options available can differ from synth to synth.
You're likely to find envelope controls (ADSR) to shape the sound, too. Many will also have filters and LFOs, which are all fairly standard sections on synthesisers.
But here are some of the other controls you are likely to find. Below, you can see Ableton Live's Granulator II showing some of these other controls.

Reverse
Not all synths have this option. This can come in a variety of forms, but in general it's a feature that allows your synth to play back the sample backwards.
This can be really useful if you're wanting to get some interesting pad textures.
Pitch
This is a common synthesis control, and allows you to adjust the pitch of the sample.
IN Granulator II, you have a few controls pertaining to the pitch shifting of your sample.
It's worth remembering that when using tonal samples, the pitch of the sample may not always align with the pitch of the MIDI note you're playing, which is something you may want to align yourself.
Scan
Scan changes the starting position of the sample playback with each new grain. This means that you can adjust how the time element of your sample is effected.
It can be great if you're using a vocal sample in which you still want to retain the words being sung, or in general, if you want to retain the original motion of the sample.
Random/Spray
If you want to create some more glitchy effects, this one is great. It randomizes the start position of each grain, giving you a more inconsistent and organic timbre.
This can really help turning sounds into pads or soundscapes.
Granulators out there.
So, if you're running Ableton, you'll notice I've been using Granulator II, which is available to all users of Live.
But luckily, there are also Granular synth plugins available for both Logic and FL Studio too.
Fruity Granulizer

FL Studio has a wide range of really good stock plugins, and Fruity Granulizer is a nice and simple-looking synth which packs a lot more power than you'd assume by looking at it.
You have a ton of control over the sound, a dedicated grain and wave spacking knobs, as well as looping and transient detecting for grain snapping.
It's a really good unit.
Alchemy in Logic Pro X
I've spoken about Alchemy before, it's a powerhouse of a synth, capabale of many things.
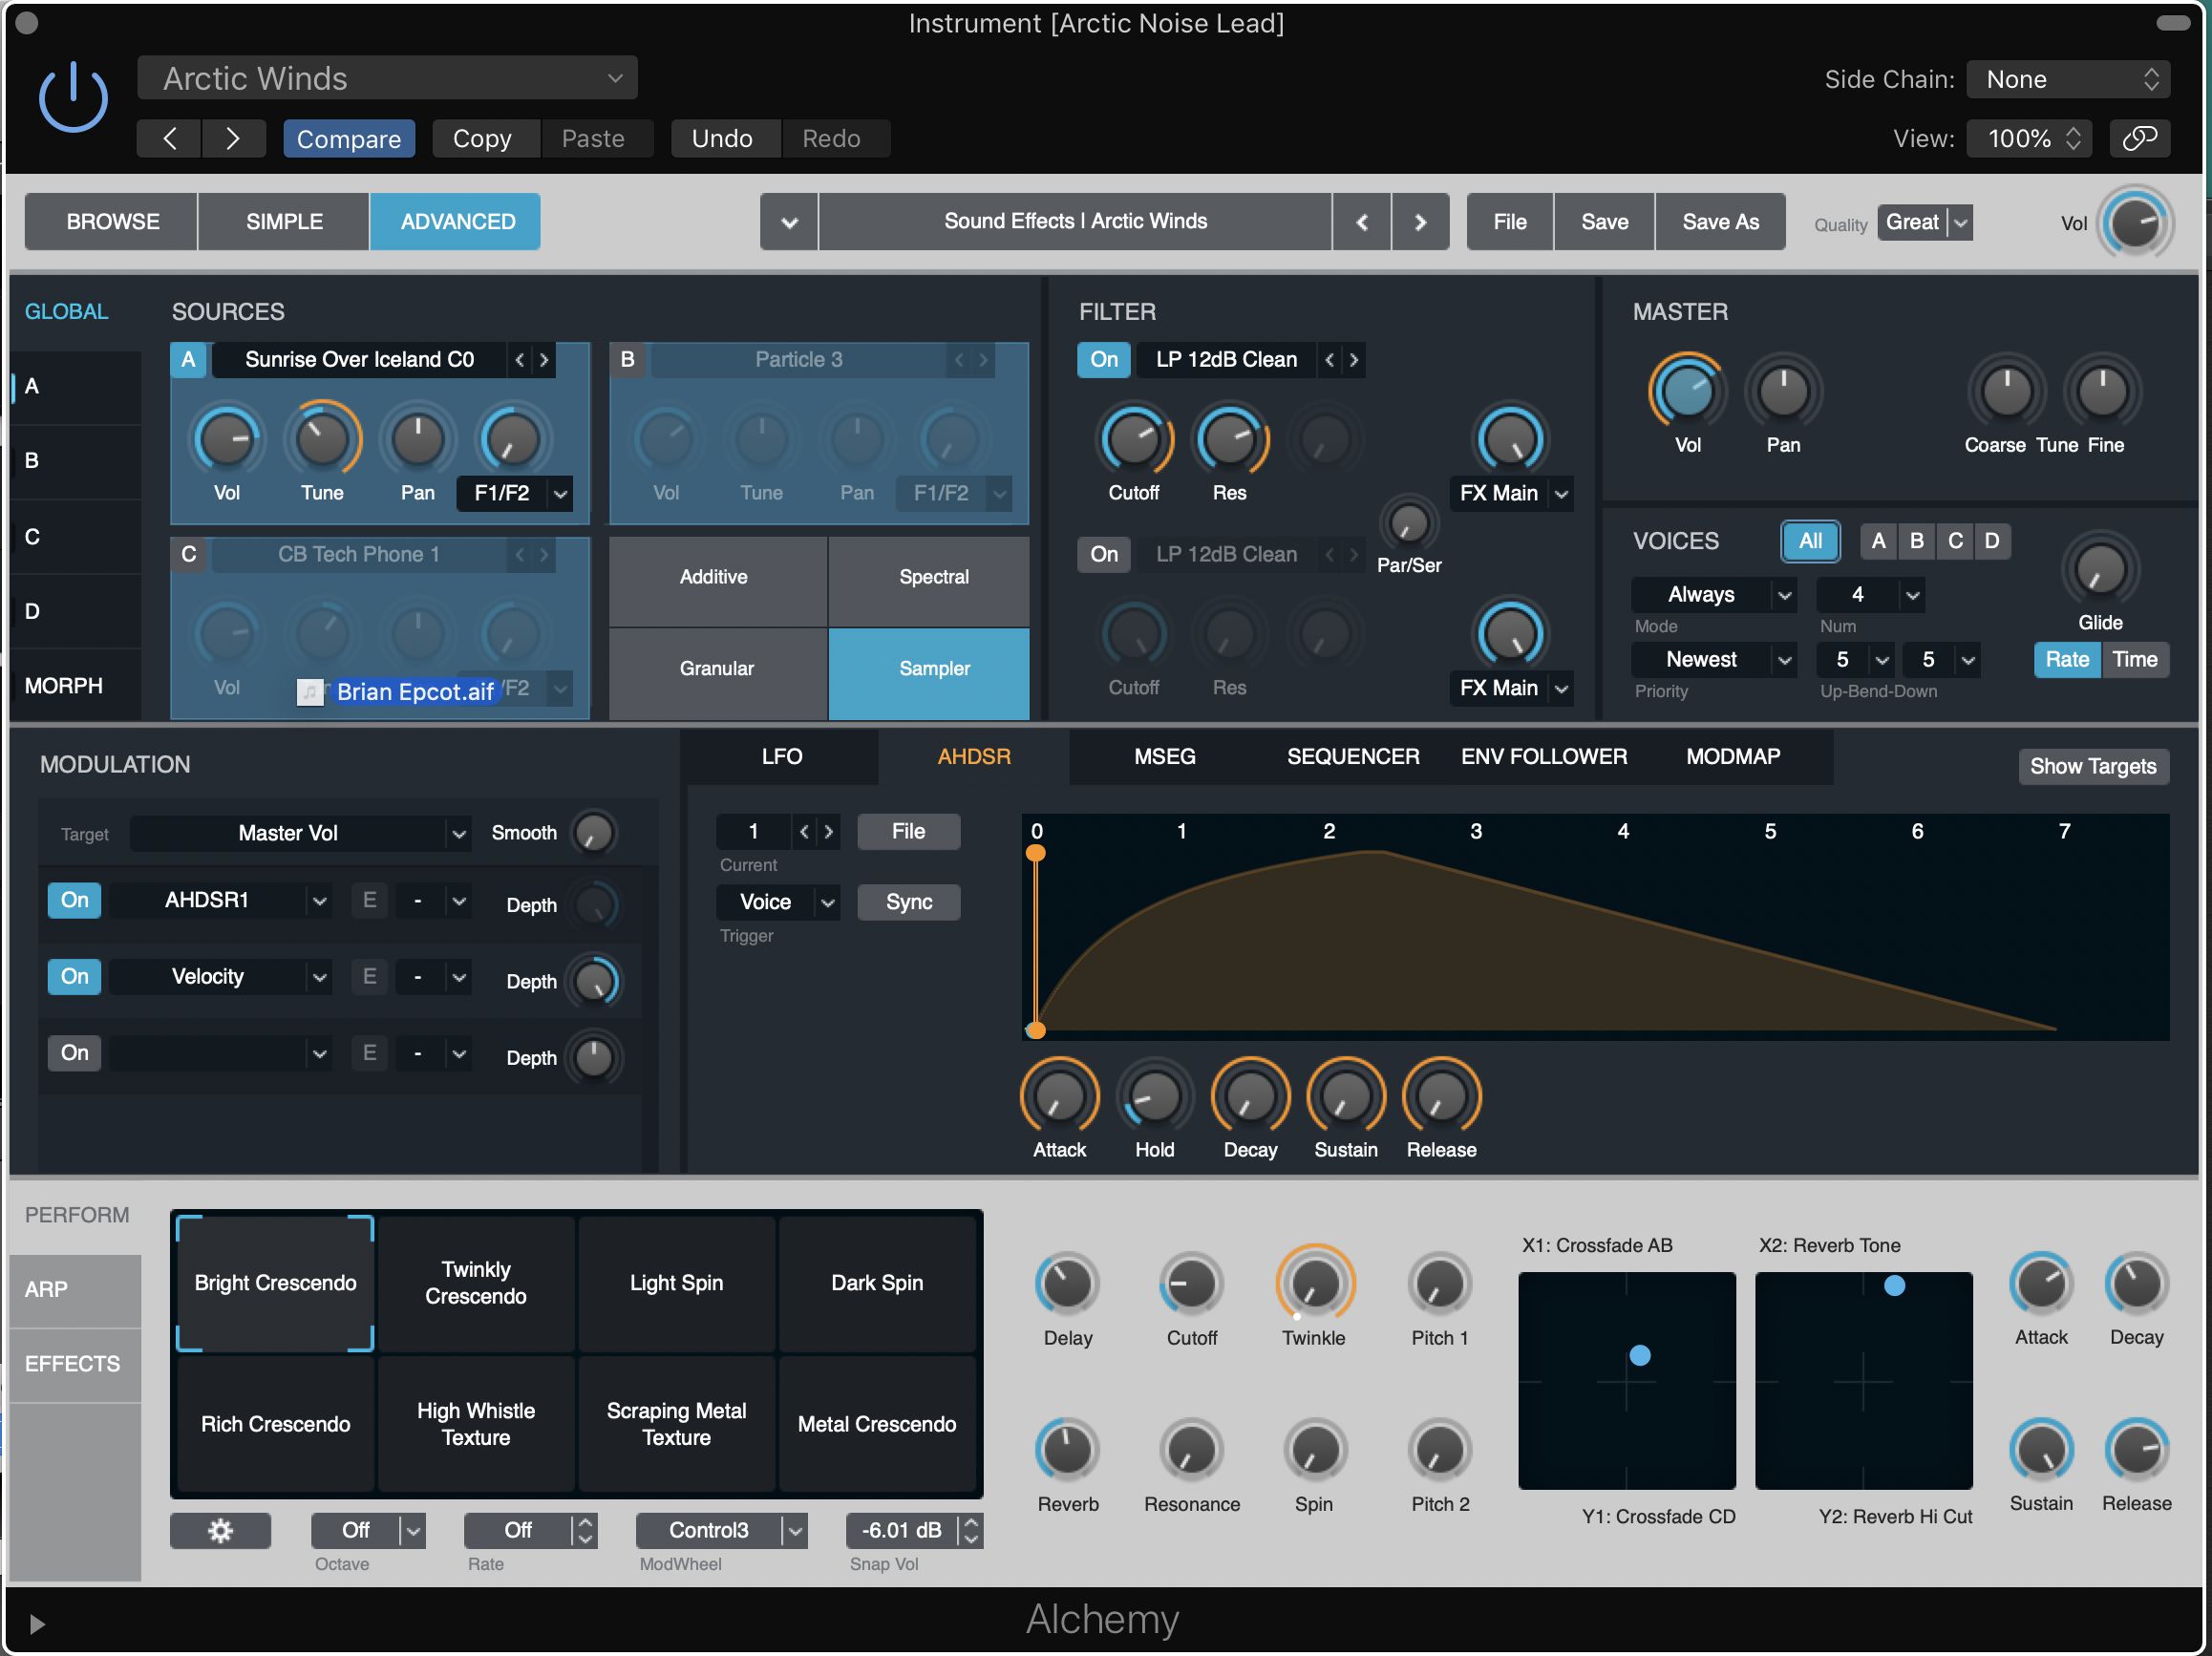
Though it isn't strictly a granular synth, as it uses a mixture of subtractive, sample-based and granular synthesis, the possibilities for sound shaping here are great.
Alchemy has a really great preset library, and an absolute labrynth of controls and features to sink your teeth into.
Verdict
So, granular synthesis is something of an outlier from the other types of synths. It shares quite a lot of its DNA with sampling, and exists as a sort of hybrid of the two.
It's really interesting for creating some of the more unique and 'out there' sounds that you might want to use in your music production arsenal, and is especially great for getting glitchy sounds and effects.
So, hopefully you got something useful out of this guide on Granular Synthesis, and stick around for more dedicated content on music production techniques!